| Using Tables |
|
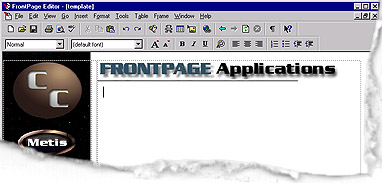
Position the insertion marker on the page
where you would like the table to appear
|
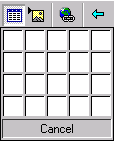
- Click and hold down the left mouse button on the Insert
Table
 icon. An
empty grid appears below the button. icon. An
empty grid appears below the button.
- Drag the mouse down and to the right to select the number of
rows and columns that you want the table to contain
|
|
|
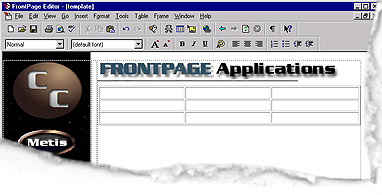
- Release the mouse button and the table will appear on the
page.
|
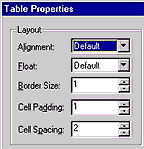
| To change the border of the table choose Table
then Table Properties. Under Layout, choose a Border Size, Cell Padding
(space between contents of cell and inside edges), and Cell Spacing (amount of space
between cell in a table). |
|
|
Use the Table Toolbar
to increase, delete, or merge cells and do other table formatting. Click the Table
Toolbar below to see its anatomy.
 |
|
|
